Running your XDK application
Once code has been written, it has to be compiled and flashed onto the XDK for it to run. A project can be compiled manually by right-clicking the project in the Project Explorer, and then selecting Build Project. Make sure to save the latest changes to your implementation files, otherwise they will not be recognized.
In the best case, the project compiles without errors. If an error occurs during compilation, it will be logged in the build console and marked with a red background. Solve these errors (most of which are described sufficiently in the log), and continue once every error is resolved.
If the project has compiled successfully, a new folder should appear in the project called Binaries, containing a file with the file-ending .out as seen in the following picture.
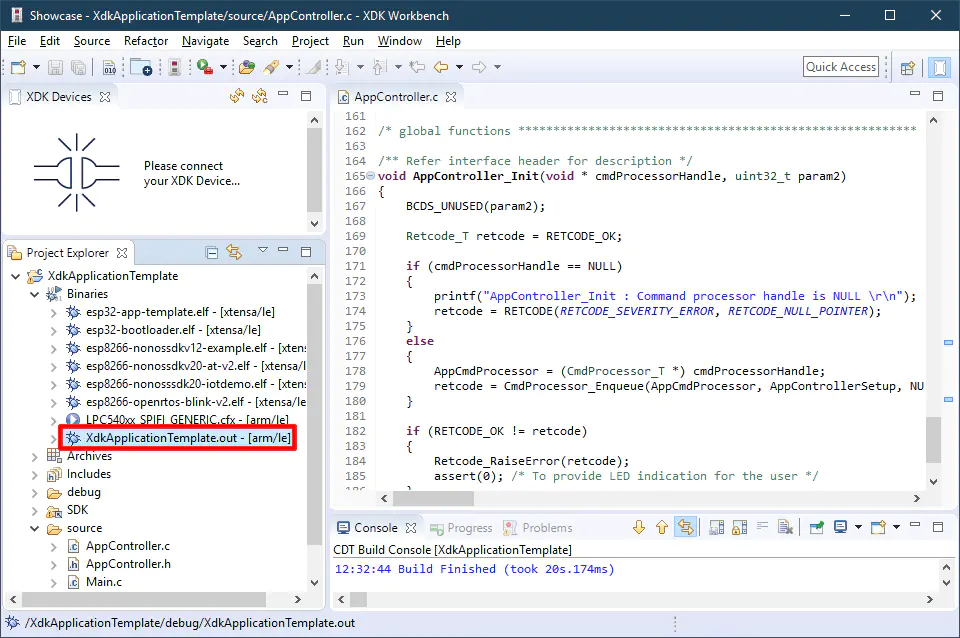
A successfully built project in the Workbench
The project can now be flashed onto the XDK by first selecting any file in the project and then pressing the Flash button corresponding to your XDK in the XDK Devices View.
Note: By default, the XDK-Workbench attempts to build the project before flashing, as a result, an old binary might be flashed onto the XDK, even though the compilation process fails.